Craft CMS
Installing Craft CMS on your server using ServerAvatar is a quick and straightforward process. With just a few inputs and the One-Click installation method, the platform handles the download, setup, and configuration for you.
Craft CMS is not available as a one-click installer on the OpenLiteSpeed (OLS) web server.
Step 1: Navigate to the dashboard of the server where you want to install Craft CMS.

Step 2: In the left sidebar of the Server Panel, click on Applications.

Step 3: In the Applications section, click the Create button located at the top-right corner.
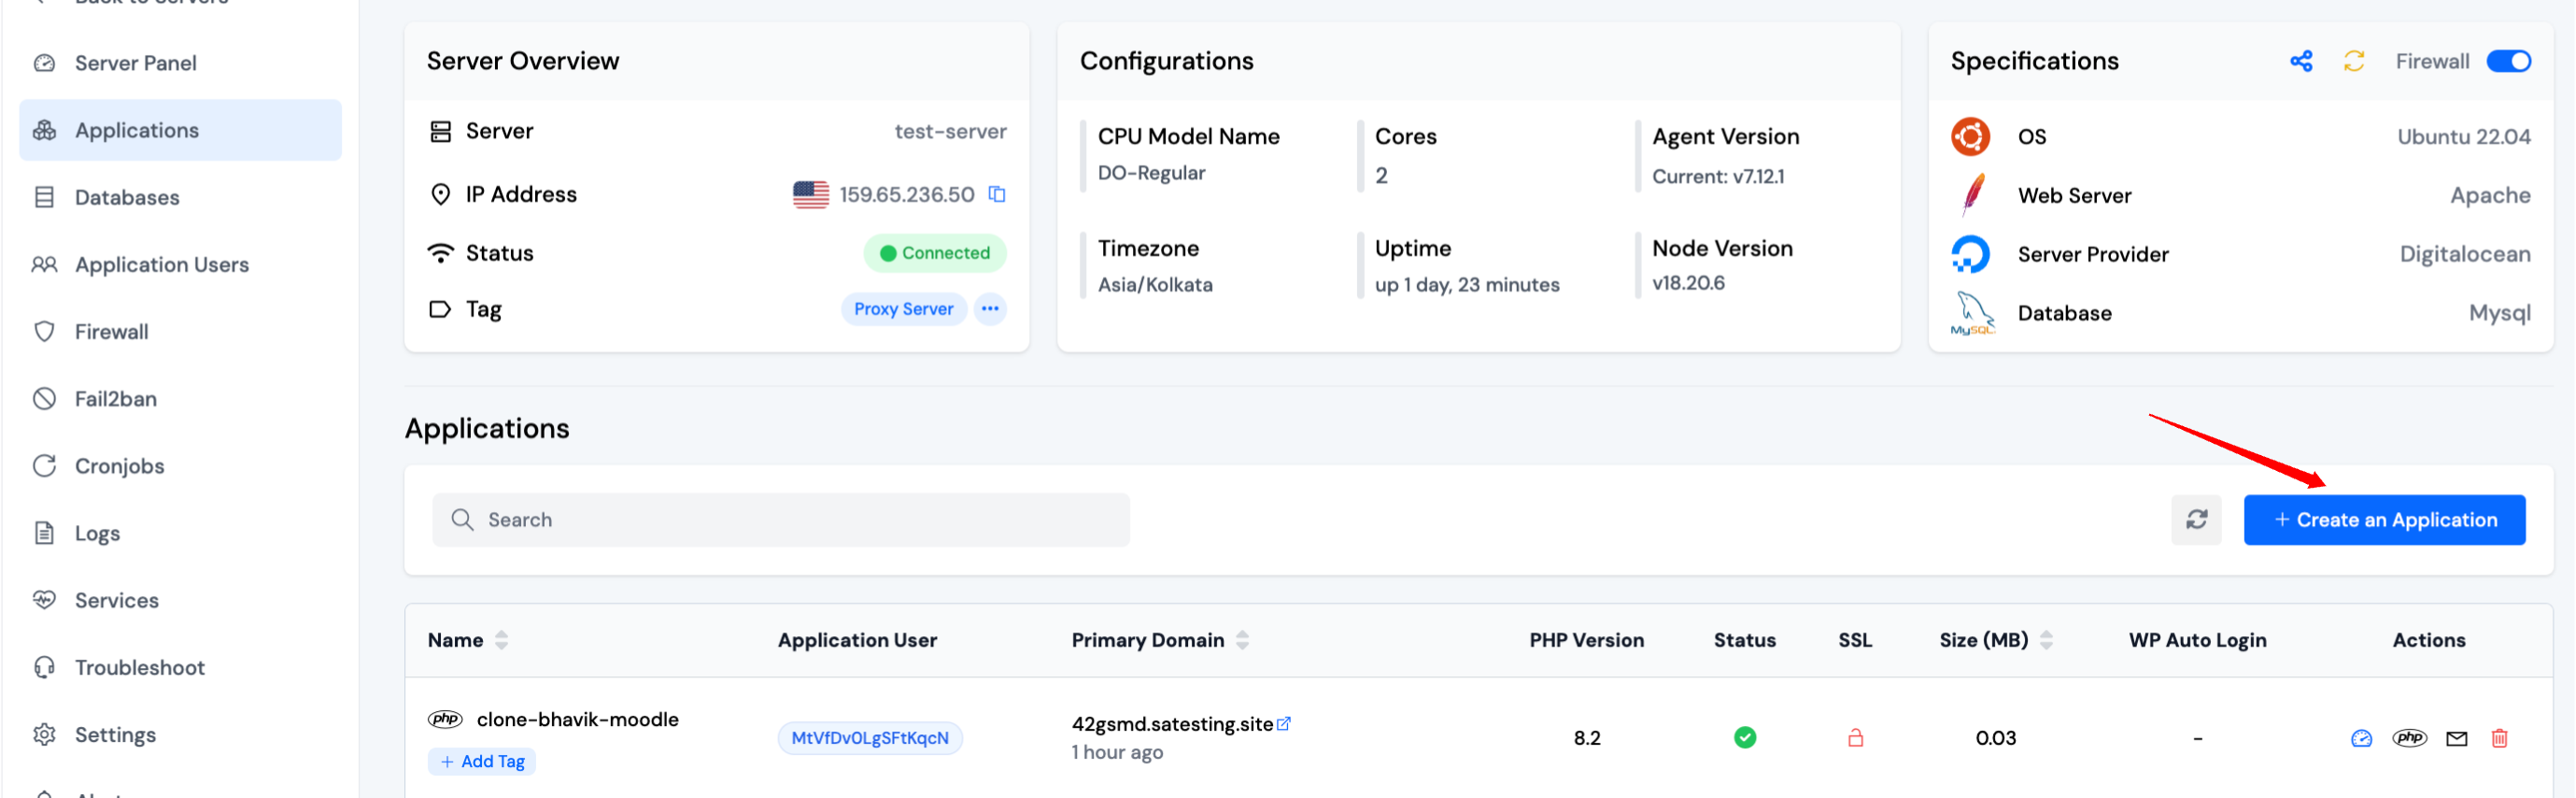
Step 4: You will be taken to the Create Application screen.
Step 5: Basic Details
- Enter your desired Application Name.
- Select whether to use a primary domain or a test domain. You can switch from a test domain to a primary domain later.

Step 6: Application Setup
-
Choose One-Click as the installation method.
-
Select Craft CMS from the list.

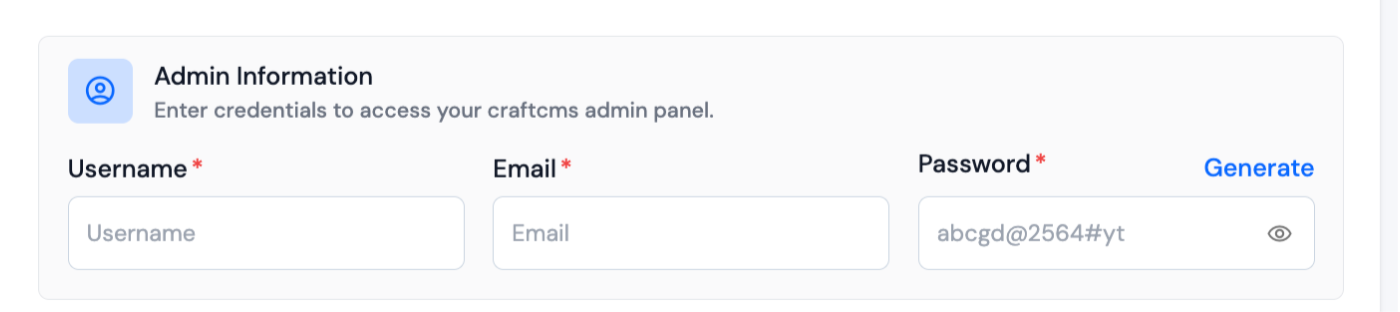
Fill in the following fields for Craft CMS setup:
- Username
- Password
You can set Database Details in Advanced options section.
ServerAvatar will handle downloading, installing, and configuring Craft CMS with all required dependencies.
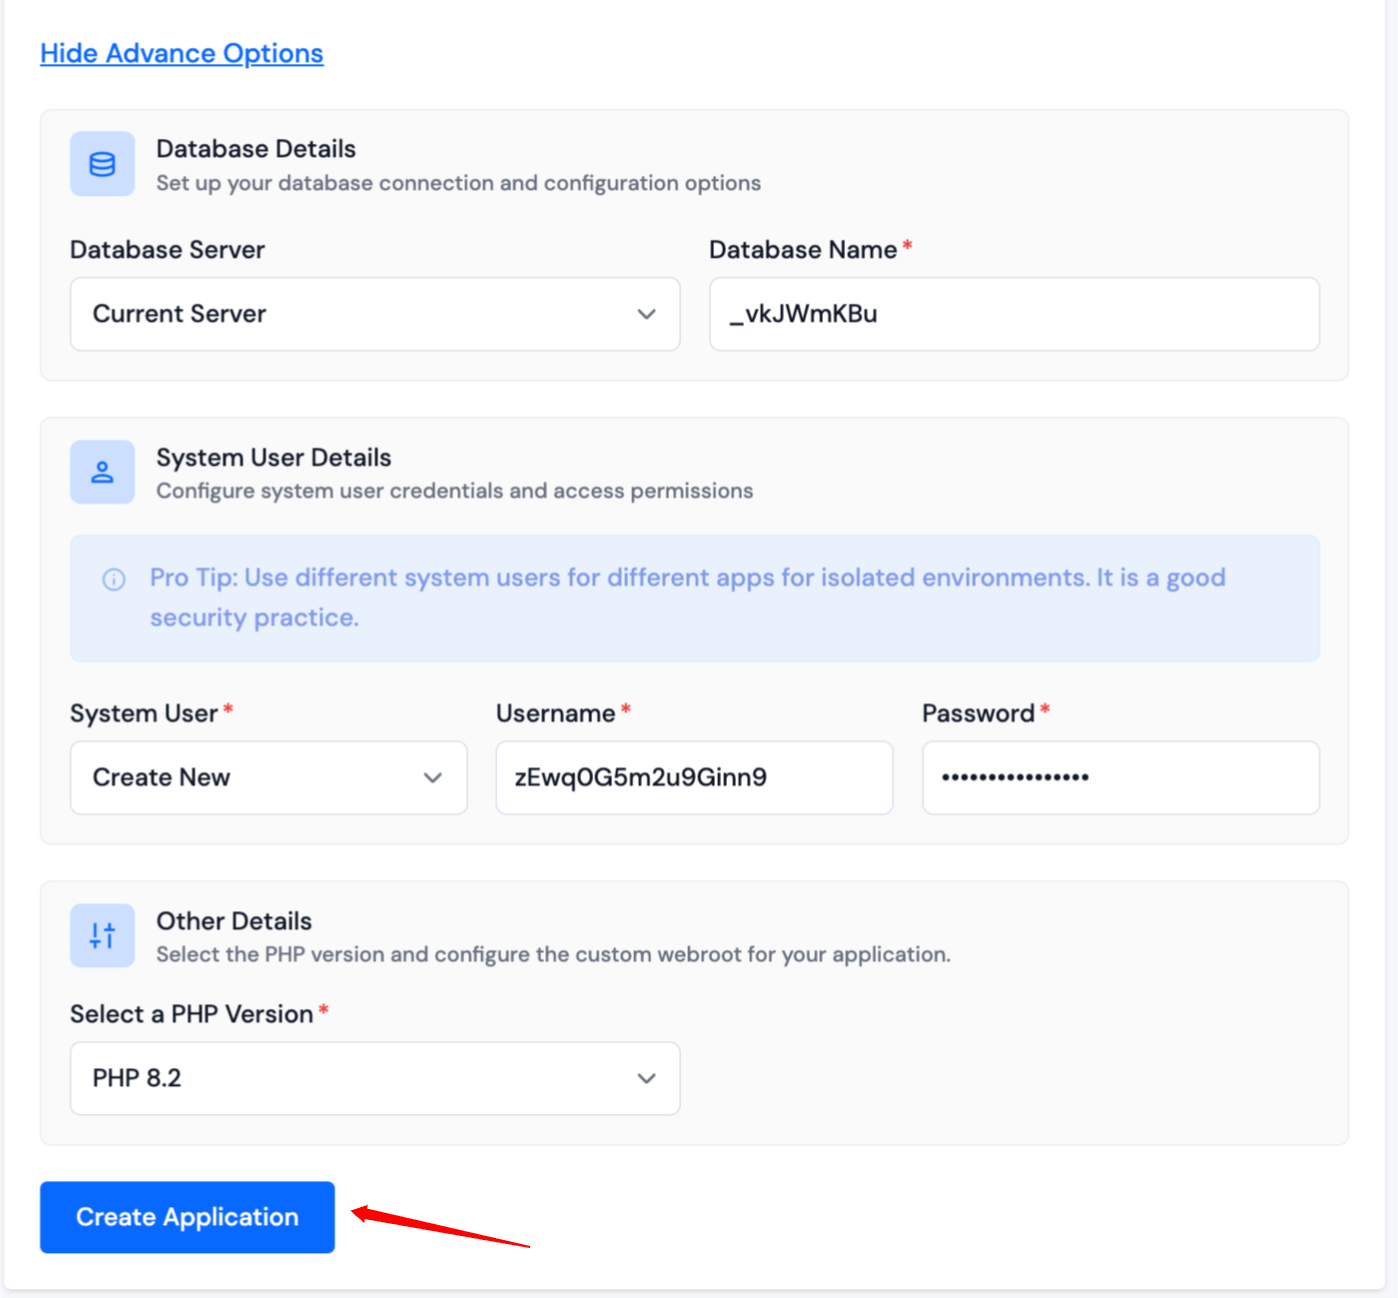
Step 7: Advance Options
Customize additional settings such as selecting a PHP version and managing system users for the application.
Review all your inputs. If any adjustments are needed, go back and update the relevant fields.
Once everything is ready, click Create Application. Your Craft CMS site will be live within 10–15 seconds.
After installation, you’ll be redirected to the Application Dashboard, where you can manage your Craft CMS instance.